Invoicing systems
Bulk data export from MoneyS3 to Neoship
Exporting data to Neoship and printing labels for various courier companies is easy from the MoneyS3 invoicing system as well. Our manual shows you how.

1. Before you export the data into a CSV file, you first need to pick the right columns — the ones containing the data needed to create the parcels and later to print the labels (you only have to choose the columns once; for any further export you always start from step 2).
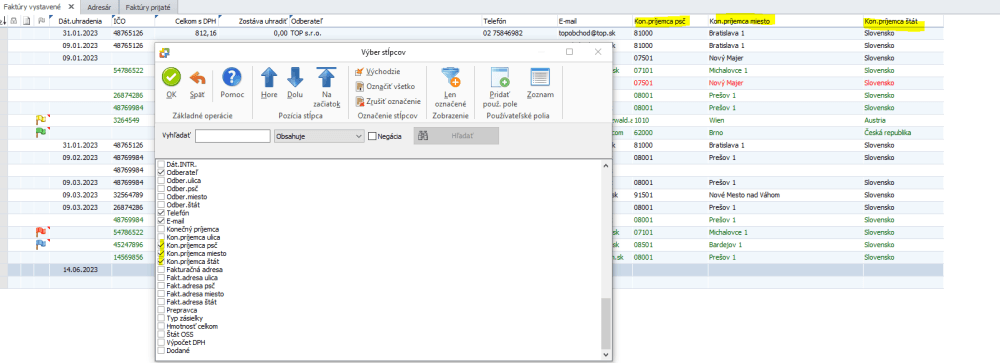
The individual columns must contain this data: doklad, koncový príjemca, koncový príjemca ulica, koncový príjemca mesto, koncový príjemca PSČ, koncový príjemca štát, email, telefón, zostáva uhradiť (= the cash-on-delivery amount). If you issue invoices in several currencies, for example in CZK, you also need to tick „zostáva uhradiť v mene“ and „mena“.
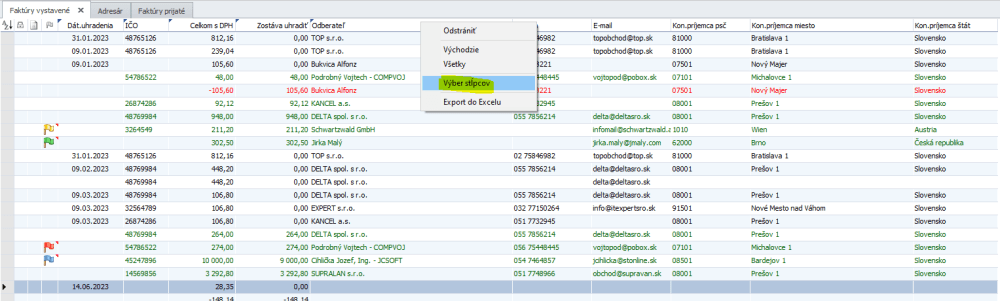
You select them as follows: right-click the top row with the column headings and then click „výber stĺpcov“.
Tick all the data we listed in step 1.
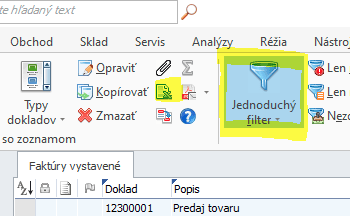
2. In the toolbar you will find a simple filter:
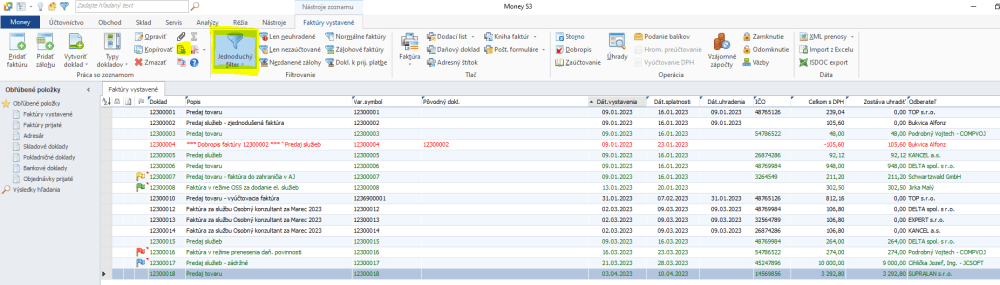
3. Use the simple filter to filter out the invoices you need. It offers plenty of options – most often you will probably export invoices for a certain period, for example.
4. Click the „export do Excelu“ icon. When saving, change the Excel file to .csv, or save it as Excel and convert it to CSV later.
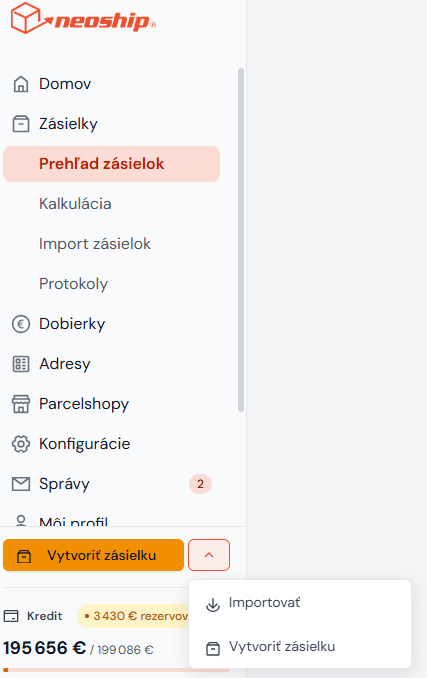
5. Uploading the downloaded CSV file to Neoship is very simple. In the left-hand bar, click the arrow button and choose the Import option.
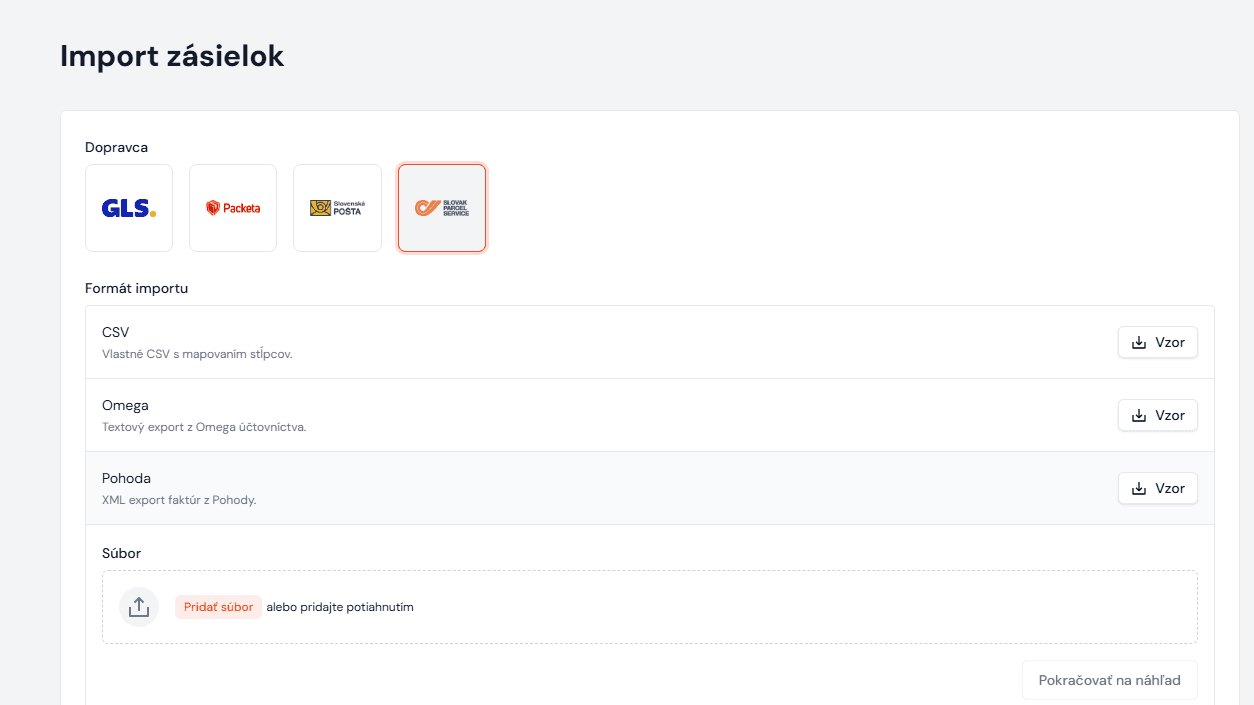
6. Choose the carrier you want to create the parcels with.
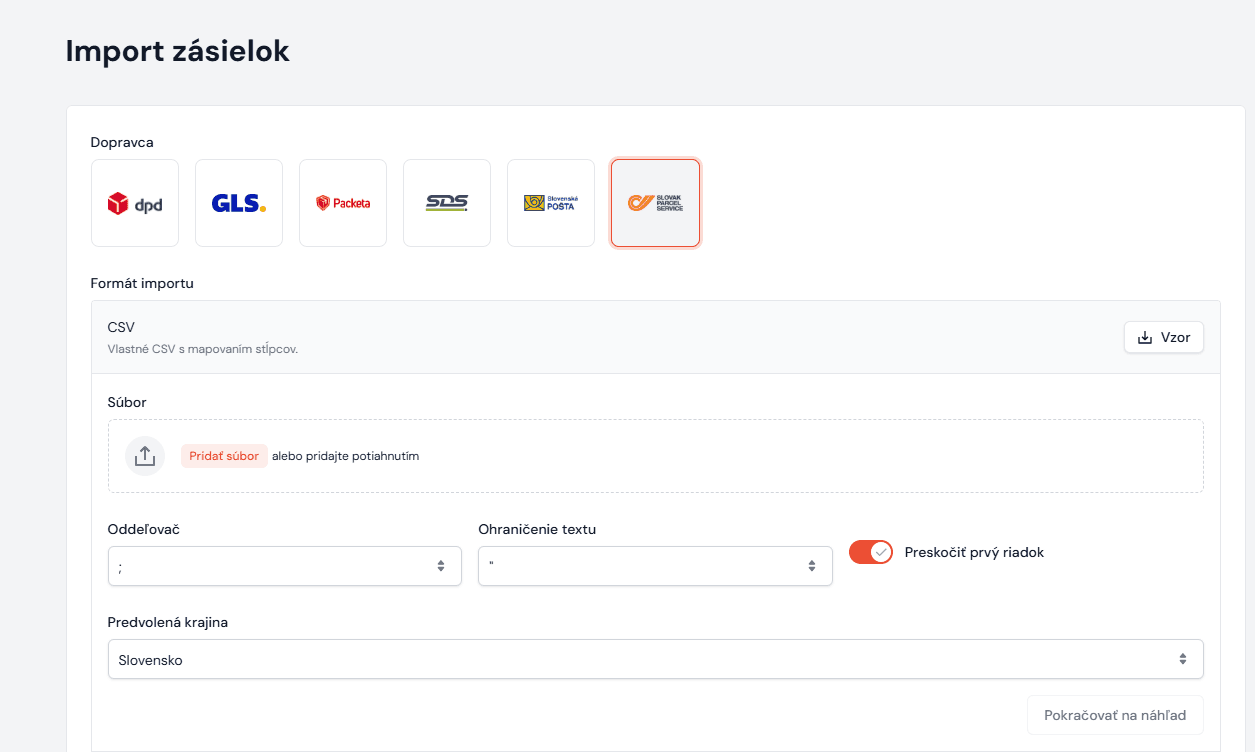
7. Select the file you exported from MoneyS3 and, if necessary, adjust the column mapping.
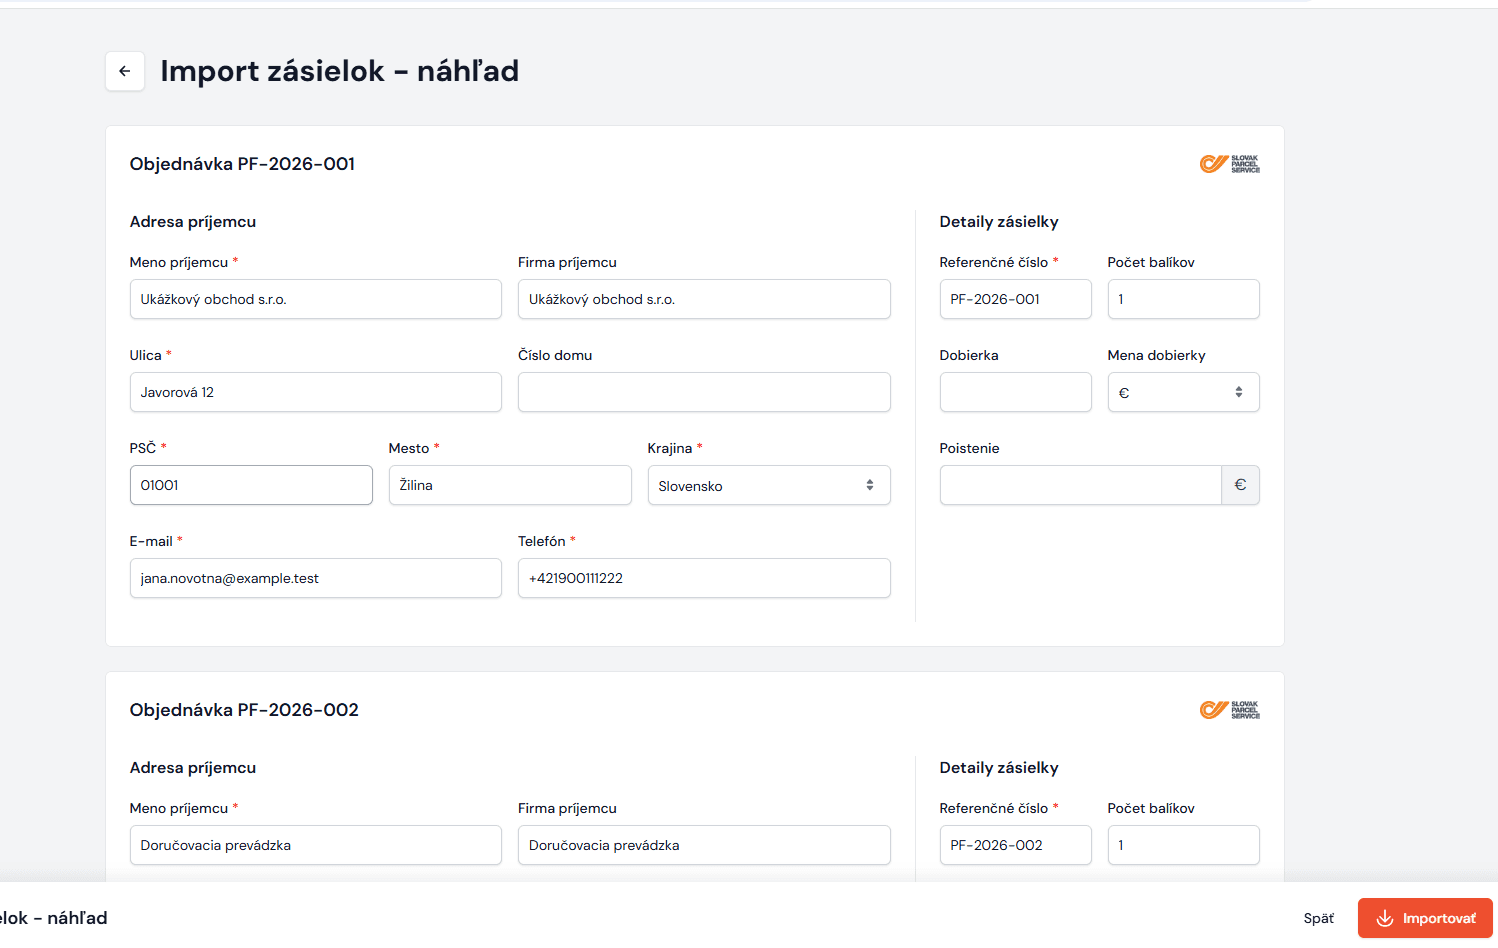
8. The data is uploaded into Neoship. At this point you can edit it, add to it and check it, and then confirm with the „uložiť“ (save) button.
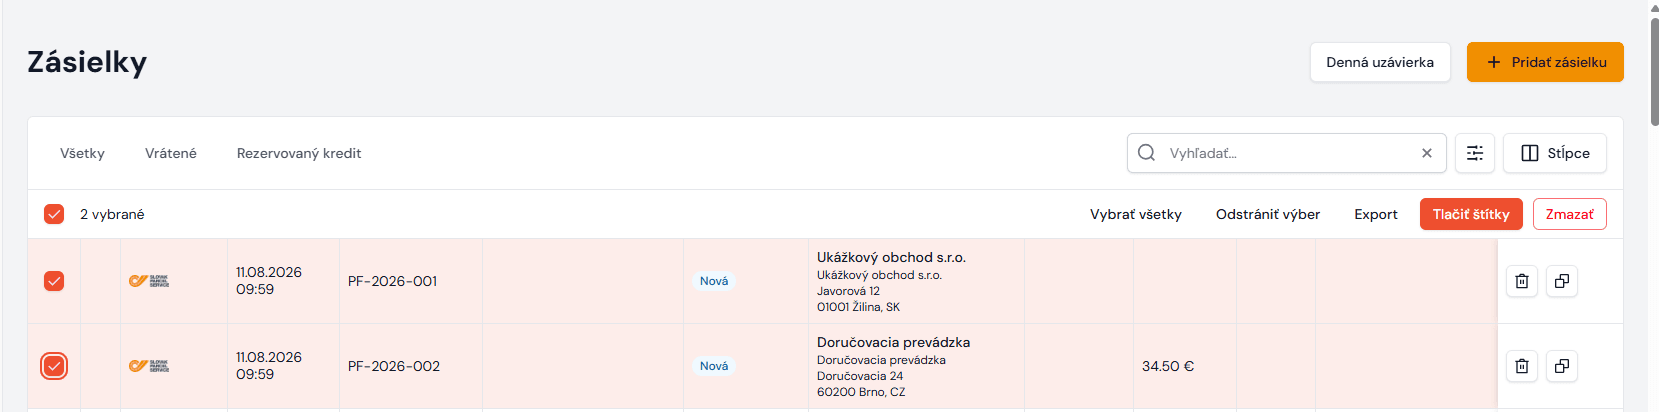
9. In the parcel list, select them and print their shipping labels: