Manuals - Plugin activation
Manual - Activating the Neoship connector for Money S4/Money S5
The Neoship connector for automating dispatch is intended for all e-shops issuing invoices in Money S4/Money S5. Effortless parcel creation and convenient label printing become a matter of course. Thanks to the connector you can easily dispatch and print labels for SPS, GLS and DPD.
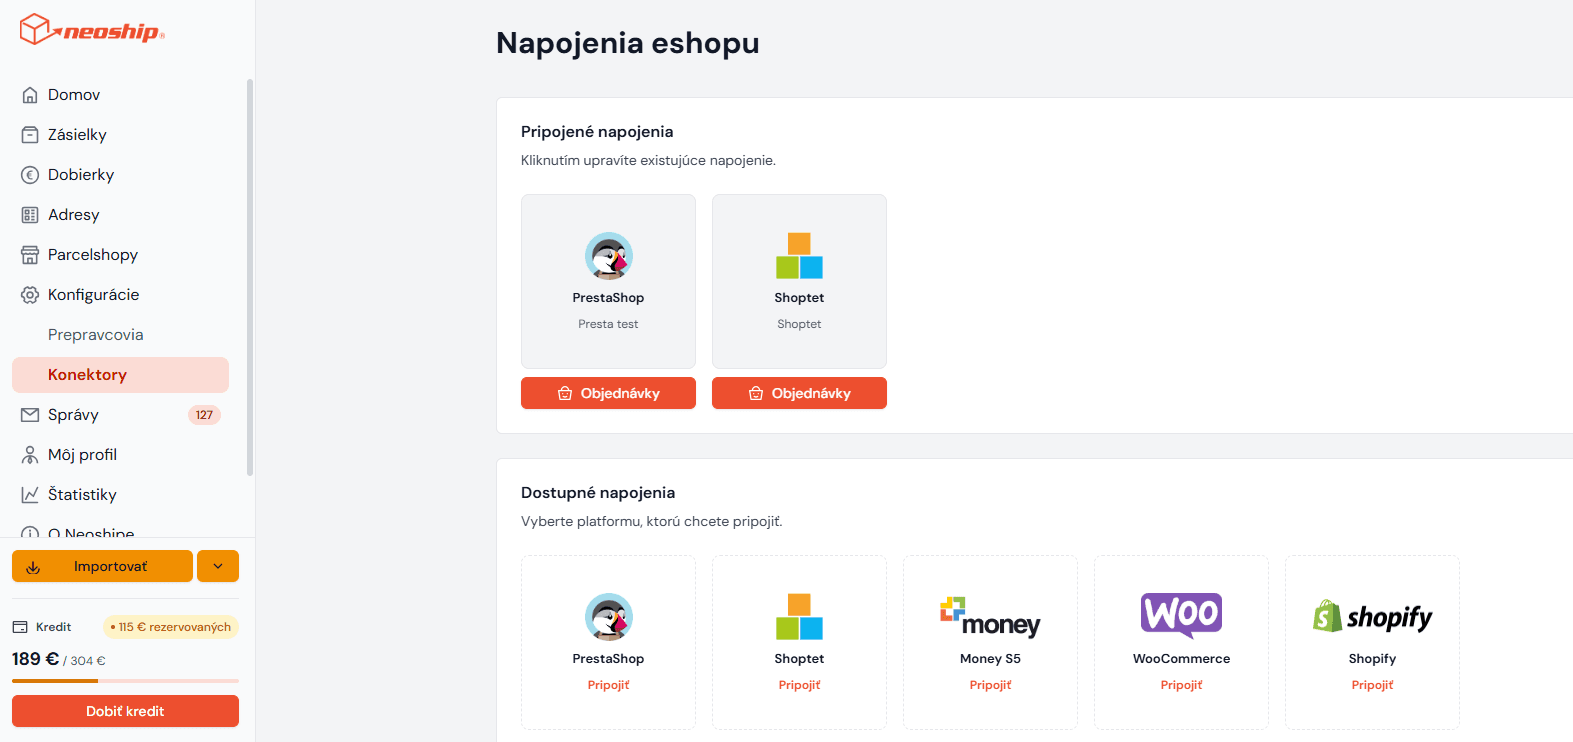
1. In the left-hand bar of the Neoship application, click Konfigurácie - Konektory.
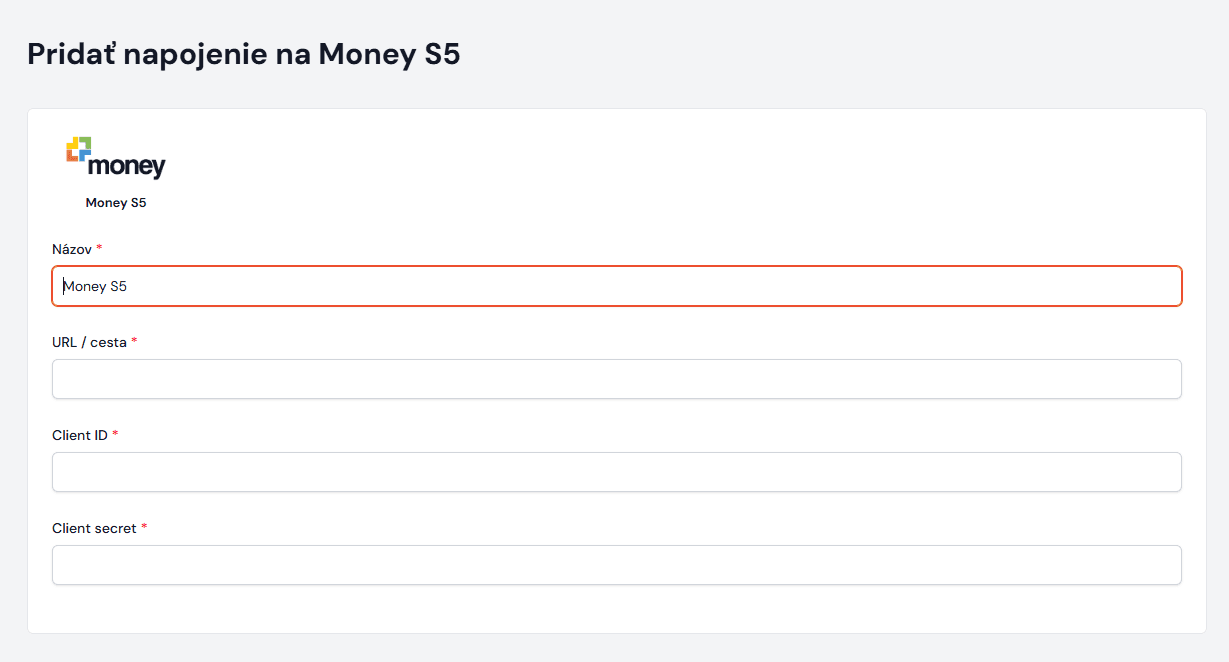
2. From the options choose Money S4/S5. In the Názov field enter a name of your choice for the connection (it is entirely up to you). In the URL field enter the URL of the invoicing system in which you issue your invoices. You also need to add the API data, namely CLIENT ID and CLIENT SECRET – these will be provided by your administrator or by a Money technical support agent. Click Pokračovať.
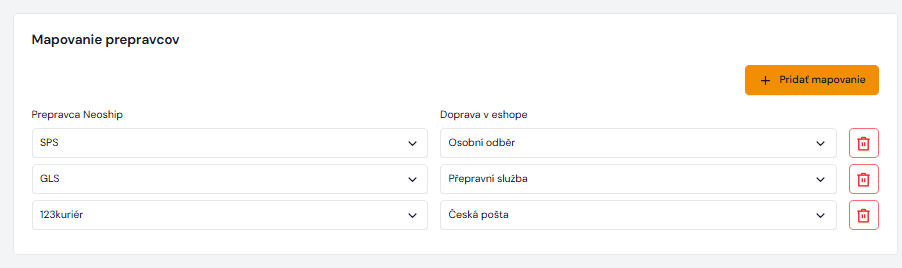
3. The connector is set up. For the correct data to be pulled from the invoices into Neoship, you need to set up the carriers you use or will use within the Neoship services, the payment methods relating to cash on delivery, and possibly map the column from Money that says how many parcels the shipment for the recipient will consist of.
Creating parcels and labels
You can watch the instructional video to see how to pull the data from the invoices and then create parcels and print labels from it.
1. To pull the invoice data into Neoship automatically and create labels for it, click the Objednávky button.
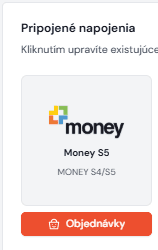
2. A page with the invoice list appears. At this point you enter into the filter which invoices you want to get into Neoship. If they are the invoices from today, there is no need to enter anything into the filter – the system pulls them automatically.
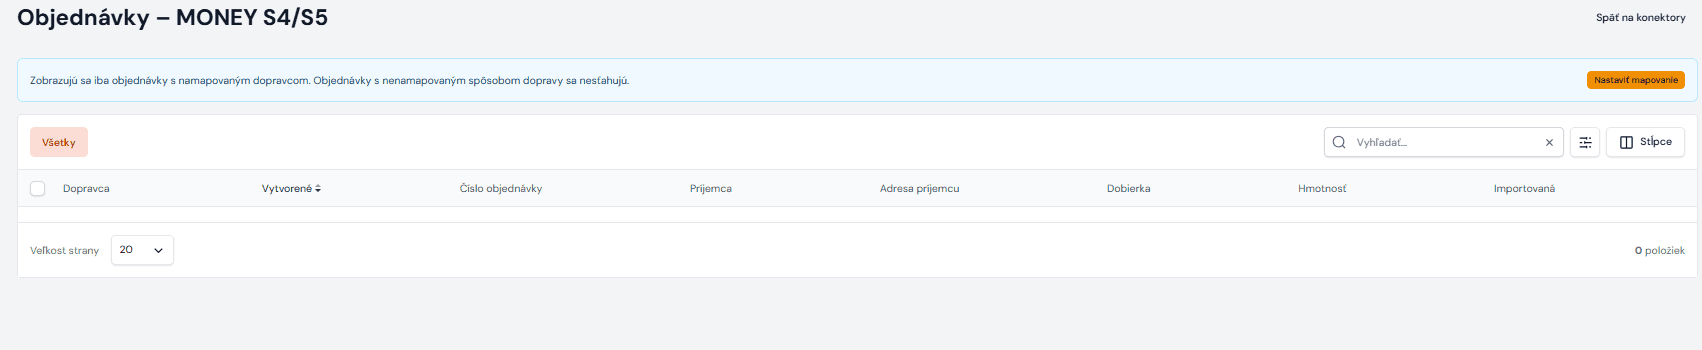
3. Select them and click Importovať vybrané:

4. After the import, all the data appears again so that you can check it or make changes, and if everything is in order you click Import once more. The data is uploaded into the parcel list, where all that is left to do is print the shipping labels.