
Manuals - Plugin activation
Manual - Activating the Neoship connector for Prestashop
The Neoship connector for PrestaShop (version 1.7 and above) automatically transfers order data so that creating parcels and printing shipping labels is effortless – no matter which courier company you use in Neoship.
What needs to be set up in your e-shop?
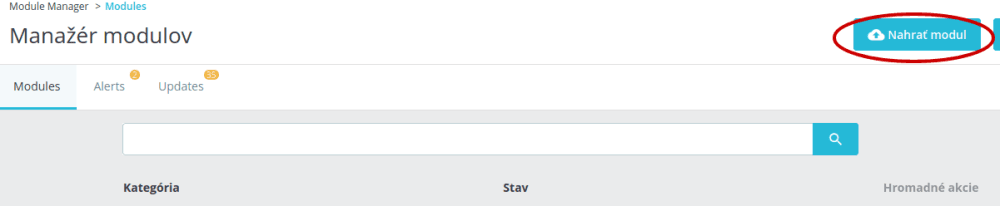
1. In the Neoship application (the O Neoshipe → Dokumenty a služby section) download the ZIP file Neoship napojenie na PrestaShop 1.7+ and upload it in your e-shop administration through IMPROVE → Modules → Module Manager → Nahrať modul:
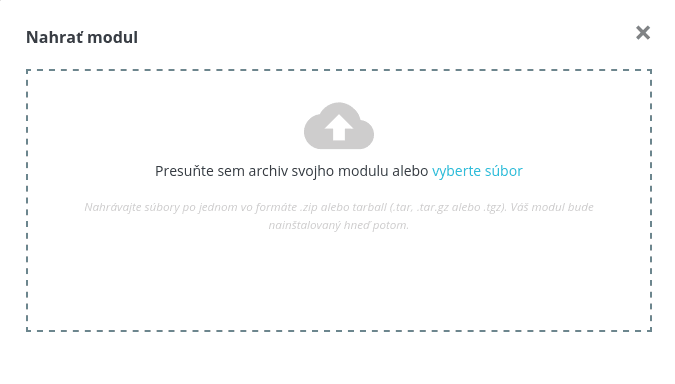
After the installation, the Neoship module appears in the module list:

2. In CONFIGURE → Advanced Parameters → Webservice add a new webservice key:

Enter a key name of your choice and in the permissions allow these resources: addresses, carriers, countries, currencies, customers, neoship_orders, order_carriers, order_states, orders (see all the allowed resources in the images below).
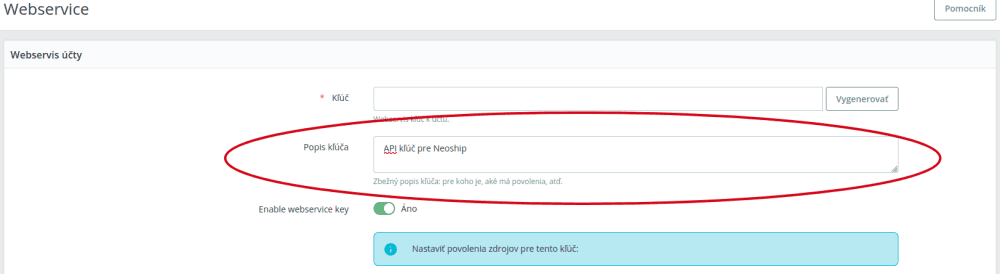
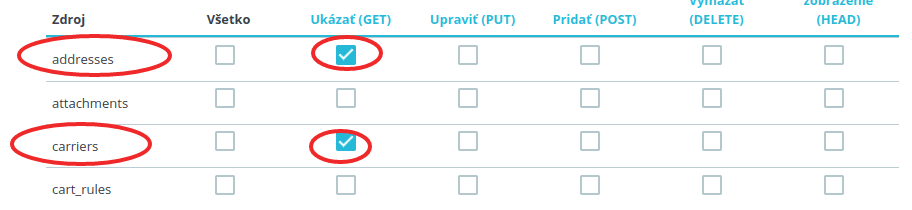





Save these settings.
Then click the Vygenerovať (Generate) button:
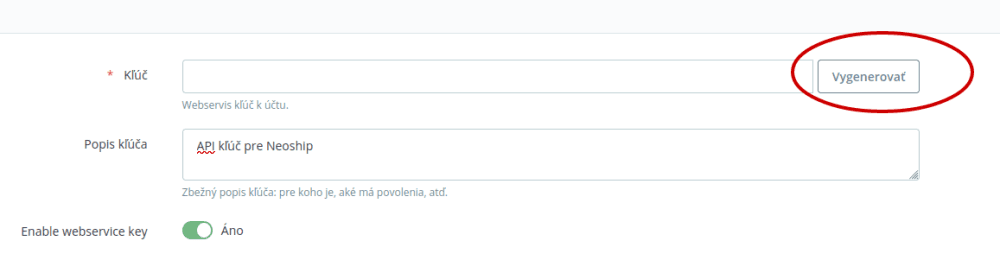
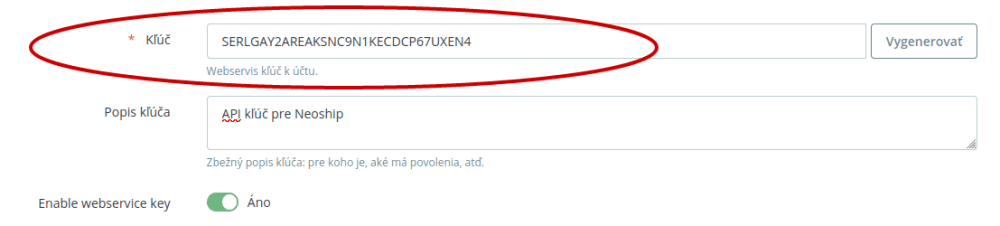
The system generates an API key for you – make a note of it, you will need it when setting up the integration in Neoship:
What needs to be set up in Neoship?
1. In the side bar of the Neoship application click Konfigurácie - Konektory:
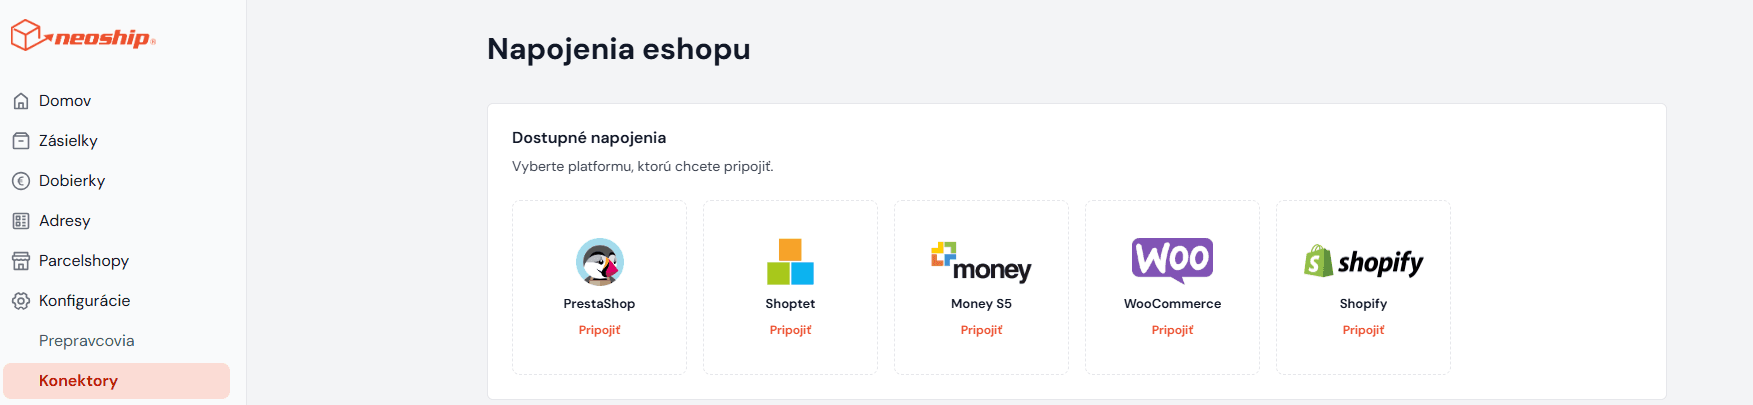
2. From the options choose PrestaShop. In the Názov field enter a name of your choice for the connection (it is entirely up to you). In the URL field enter your e-shop URL up to the slash, for example https://mojnajkrajsieshop.sk/, and in the API kľúč field paste the key you generated in your e-shop administration. Click save at the bottom right:
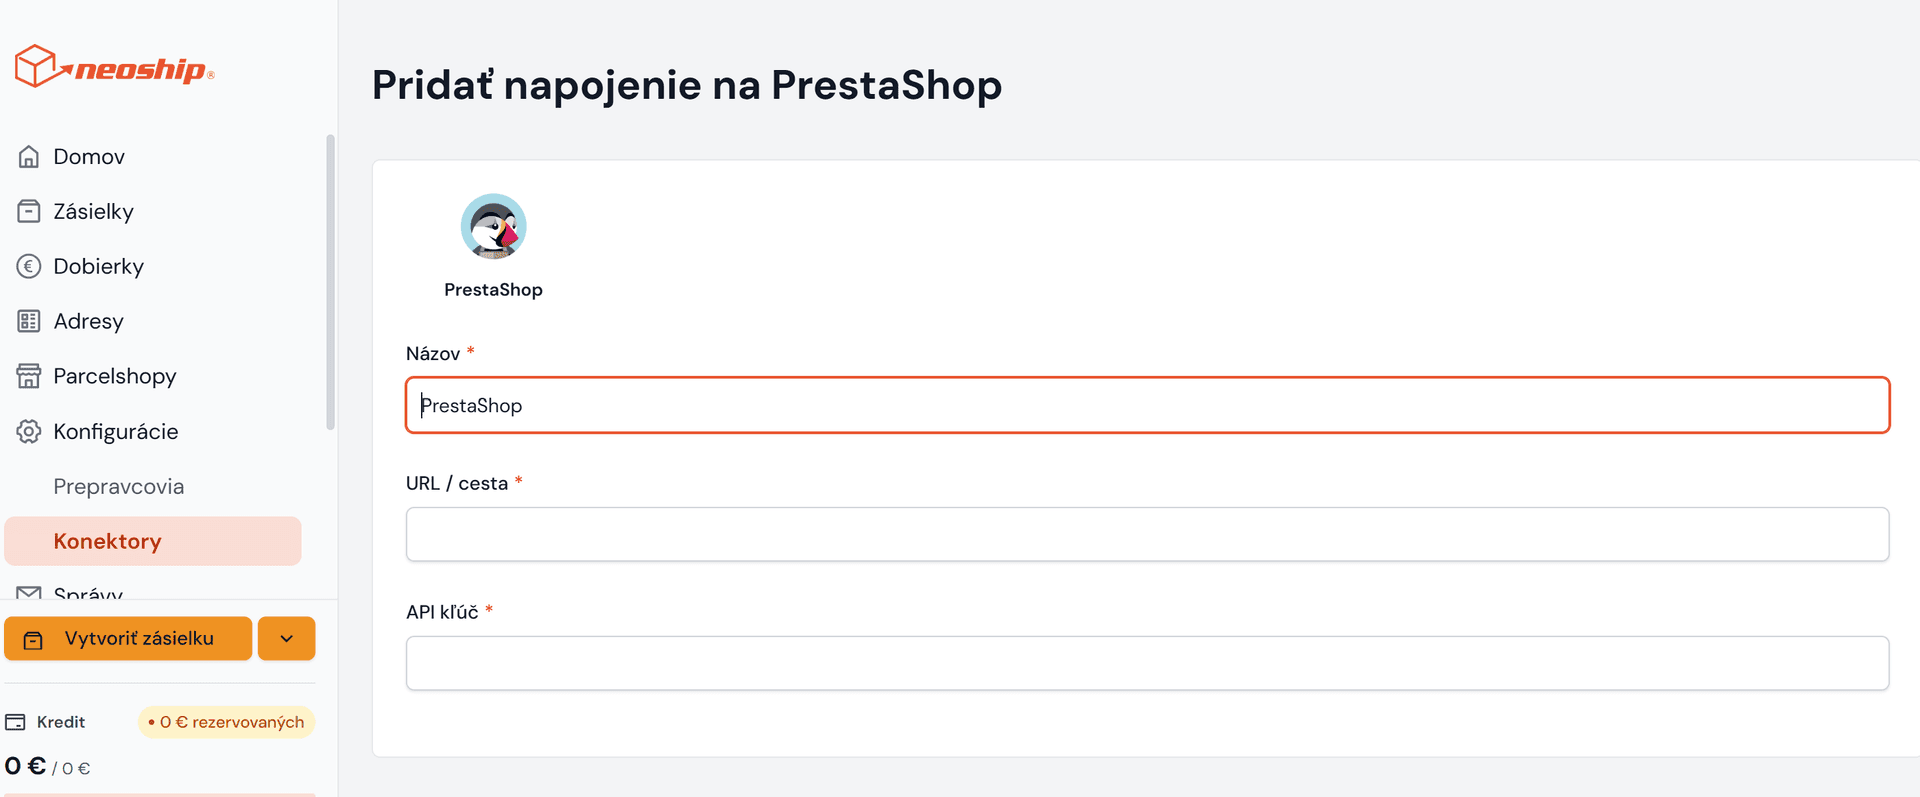
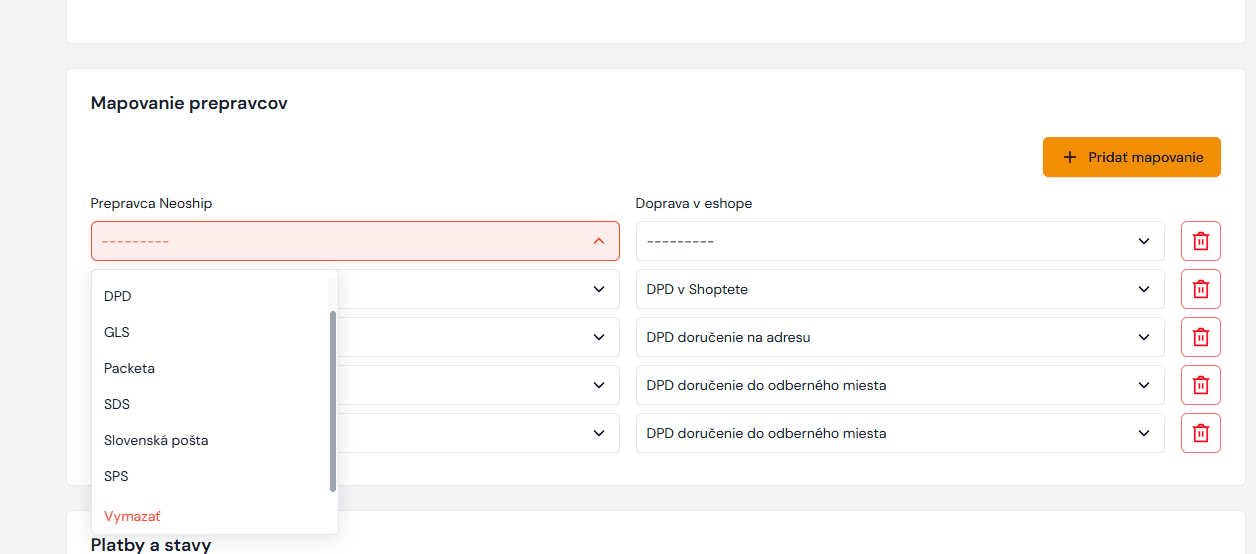
3. The connector is set up. For the correct data to be pulled from the orders into Neoship, you need to set up the carriers you use or will use within the Neoship services and the payment methods relating to cash on delivery.
Creating parcels and labels
You can watch the instructional video to see how to pull order data into Neoship and print shipping labels for it.