
Manuals - Plugin activation
Manual - Activating the Neoship plugin in WooCommerce
The Neoship plugin lets e-shops export orders to Neoship in bulk and print both labels and the handover protocol for the exported orders. The Neoship plugin is freely available in the WordPress administration and its activation is conditional on using the Neoship services.
Activating the Neoship plugin
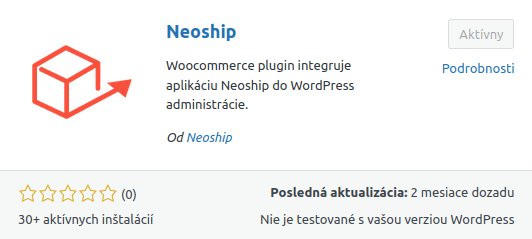
1. Download and activate the Neoship plugin:
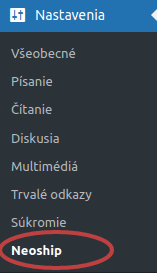
2. Click Nastavenia → Neoship:
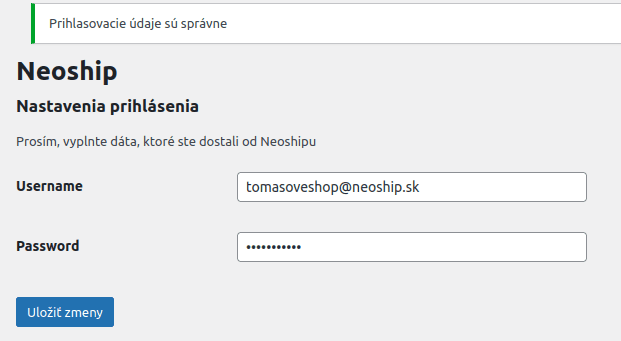
3. Fill in the Client ID and Client secret (you will receive them from us). After clicking „Uložiť zmeny“ the confirmation message „Prihlasovacie údaje sú správne“ (the login details are correct) has to appear. At this point your e-shop is connected to Neoship.
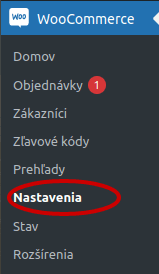
4. In the left-hand menu go to WooCommerce → Nastavenia → Doprava and choose the carriers you use or will use within the Neoship services and which will at the same time be activated in the basket.
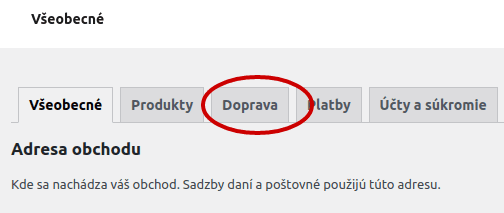
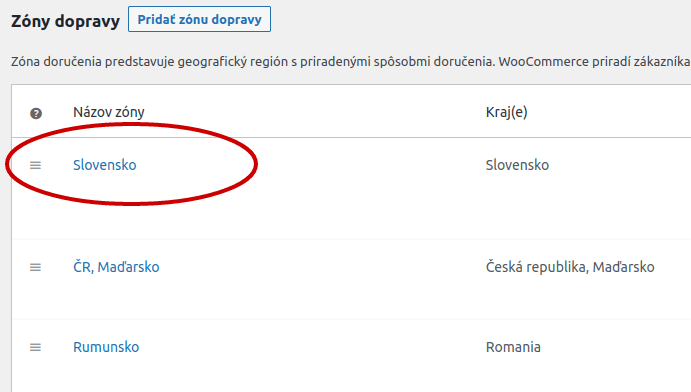
5. If you send parcels both within Slovakia and abroad, set the carriers up for the Slovakia zone and for the abroad zone as well (or however you have created it):
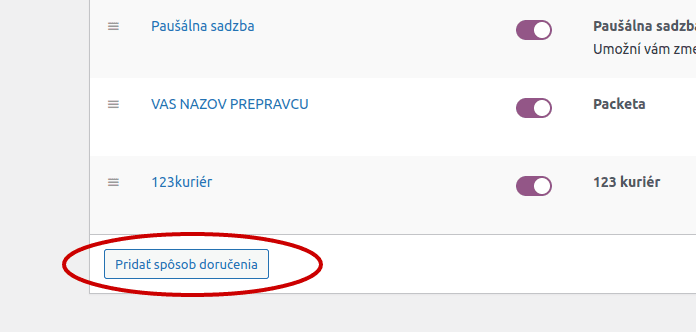
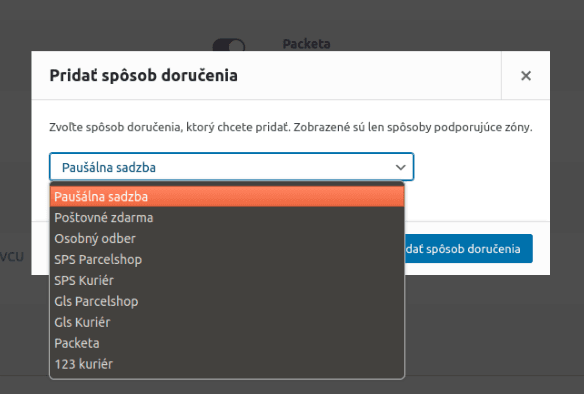
6. Use the „Pridať spôsob doručenia“ button to choose the carrier or carriers you use or will use within the Neoship services:
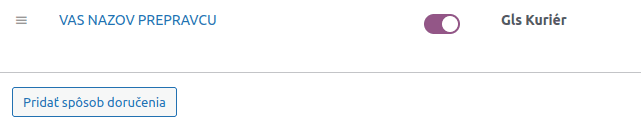
7. In our case we chose GLS Kuriér:
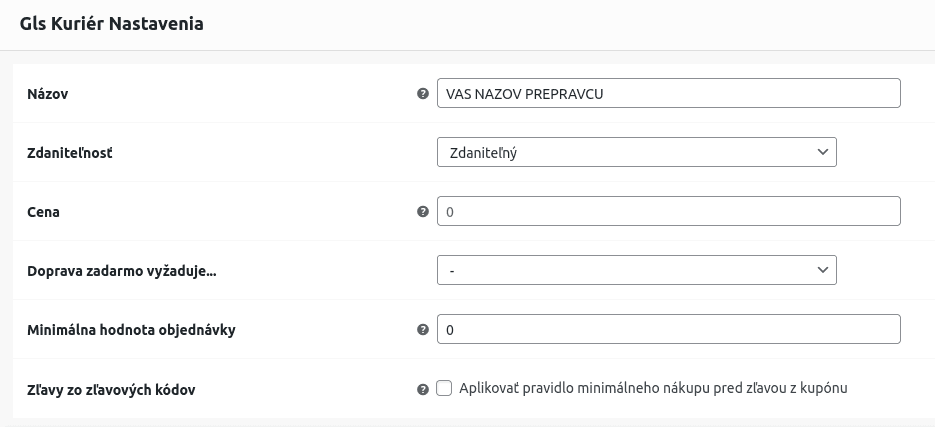
8. You can name it however you like and also set the shipping price that will be shown to the customer in the basket:
After these settings everything is ready for automated dispatch.